Introduction
F5 Beacon provides application visibility and analytics to gain insight into the end-user experience. With this integration, we are expanding on the proactive monitoring checks provided by F5 Beacon by allowing users to set up additional tests in Catchpoint and then view the health of the test in the F5 beacon dashboard. This will enable us to get comprehensive health visibility throughout the application in terms of end-user experience.
Test Webhook Data in Catchpoint is being used to send data to F5 Beacon after each run. Based on the test run success or failure, a status of Available or Failure will be sent to F5 Beacon.
Prerequisites
- F5 Beacon account
Installation & Configuration
Setup in F5 Beacon Portal
- Token Configuration in F5 Beacon portal, step by step instruction here.
- Create a Beacon application in the F5 Beacon portal, step by step instruction here.
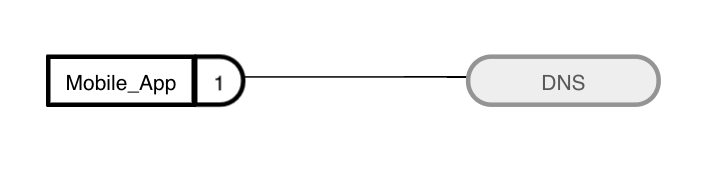
Note: For this example, you can create a beacon application with just one node, as shown below.
Setup in Catchpoint Portal
- Set up a DNS test and enable Test Data Webhook under Advanced Settings.
- Navigate to the API page under Settings in the main menu.
- Set up a Test Data Webhook with the details shown in the screenshot and template below.
 - URL: https://ingestion.ovr.prd.f5aas.com:50443/beacon/v1/ingest
- Use the following JSON structure data when creating the template in Test Data Webhook. Replace
<token_here>with your token.
{
	"sourceName": "CP ${TestType} ${TestId}",
	"sourceDescription": "${TestType} test healthStatus",
	"token": "<token_here>",
	"components": [
	    {
	        "name": "${TestType} ${TestId}",
	        "description": " ${TestType} test set up in Catchpoint",
	        "healthStatus": "${switch("${errorany}","False","AVAILABLE","false","AVAILABLE","CRITICAL")}"
	    }
	]
}
Link Catchpoint Data in F5 Beacon Portal
Before you can link the Catchpoint data, you need to confirm that it is available in the F5 Beacon portal by following these steps:
- Log into the F5 Beacon portal.
- Select Configuration.
- Click on Sources.
- If the data from Catchpoint is reaching F5 Beacon successfully, then the Test ID from Catchpoint should be displayed as shown in the screenshot below.

Follow these steps to link the data:
- Log in to F5 Beacon portal.
- Open the Beacon application from Application Landscape and then List View.
- Click on the application name.
- Click to enable edit mode.
- Select the DNS node you created earlier.
- Click on Edit Node from the top menu.
- Click on Save and Continue to load Metric Health Condition.
- Click on the Add button.
- Select Pick a source type and choose beacon-health-source.
- Under Select filters, choose a name, and for value input Test ID and select.
- Click on Add.
- Click on Save.
- Last click on Save and Close.
Results
Once linked, it takes about a minute to load the data. Refresh the page to see the change in the List View page.

The Health Status will change to indicate a successful data connection.

To view the data, click on the heart icon, and a side-panel will open displaying the dashboard.
